Summary
The new Synology DSM version 7 no longer supports GLPI as a standard installation package. Nevertheless you can manually install GLPI 10 on Synology DSM 7. It’s very easy and requires just a few steps.
Simply follow the 4 detailed descripted steps below to run your own GLPI 10 installation on a Synology with DSM version 10.
Table of Content
What is GLPI 10?
1. Create a webspace directory for GLPI 10 in Synology DSM 7
2. Create a Virtual Host for GLPI 10 on Synology DSM 7
3. Create a PHP profile for GLPI 10 in Webstation
4. Create database for GLPI 10
What is GLPI 10?
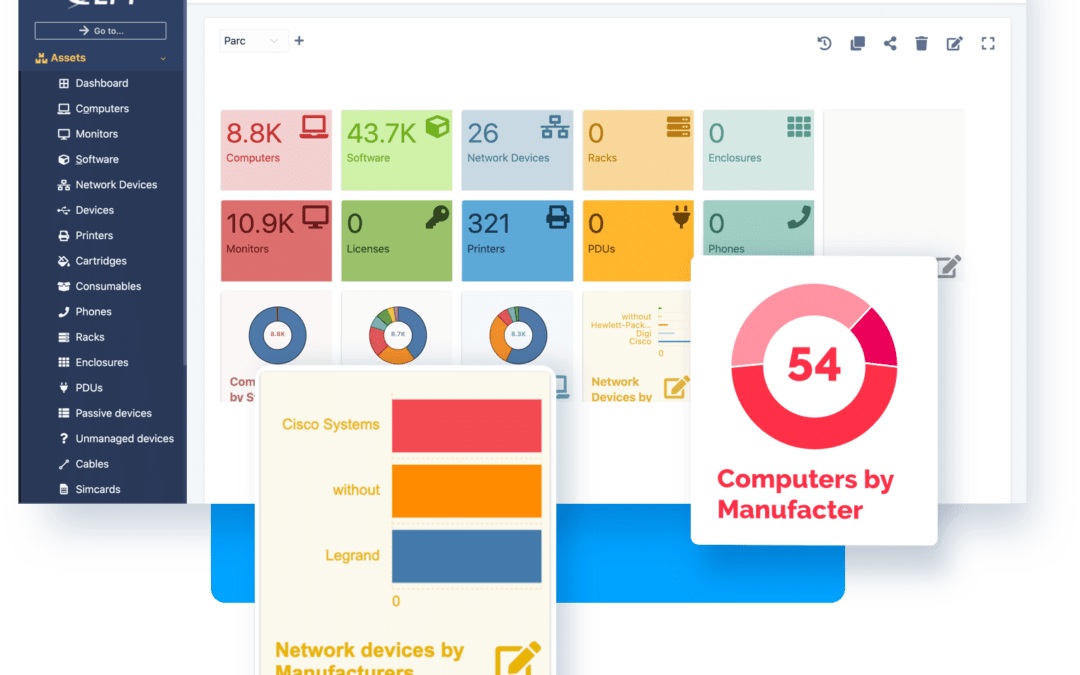
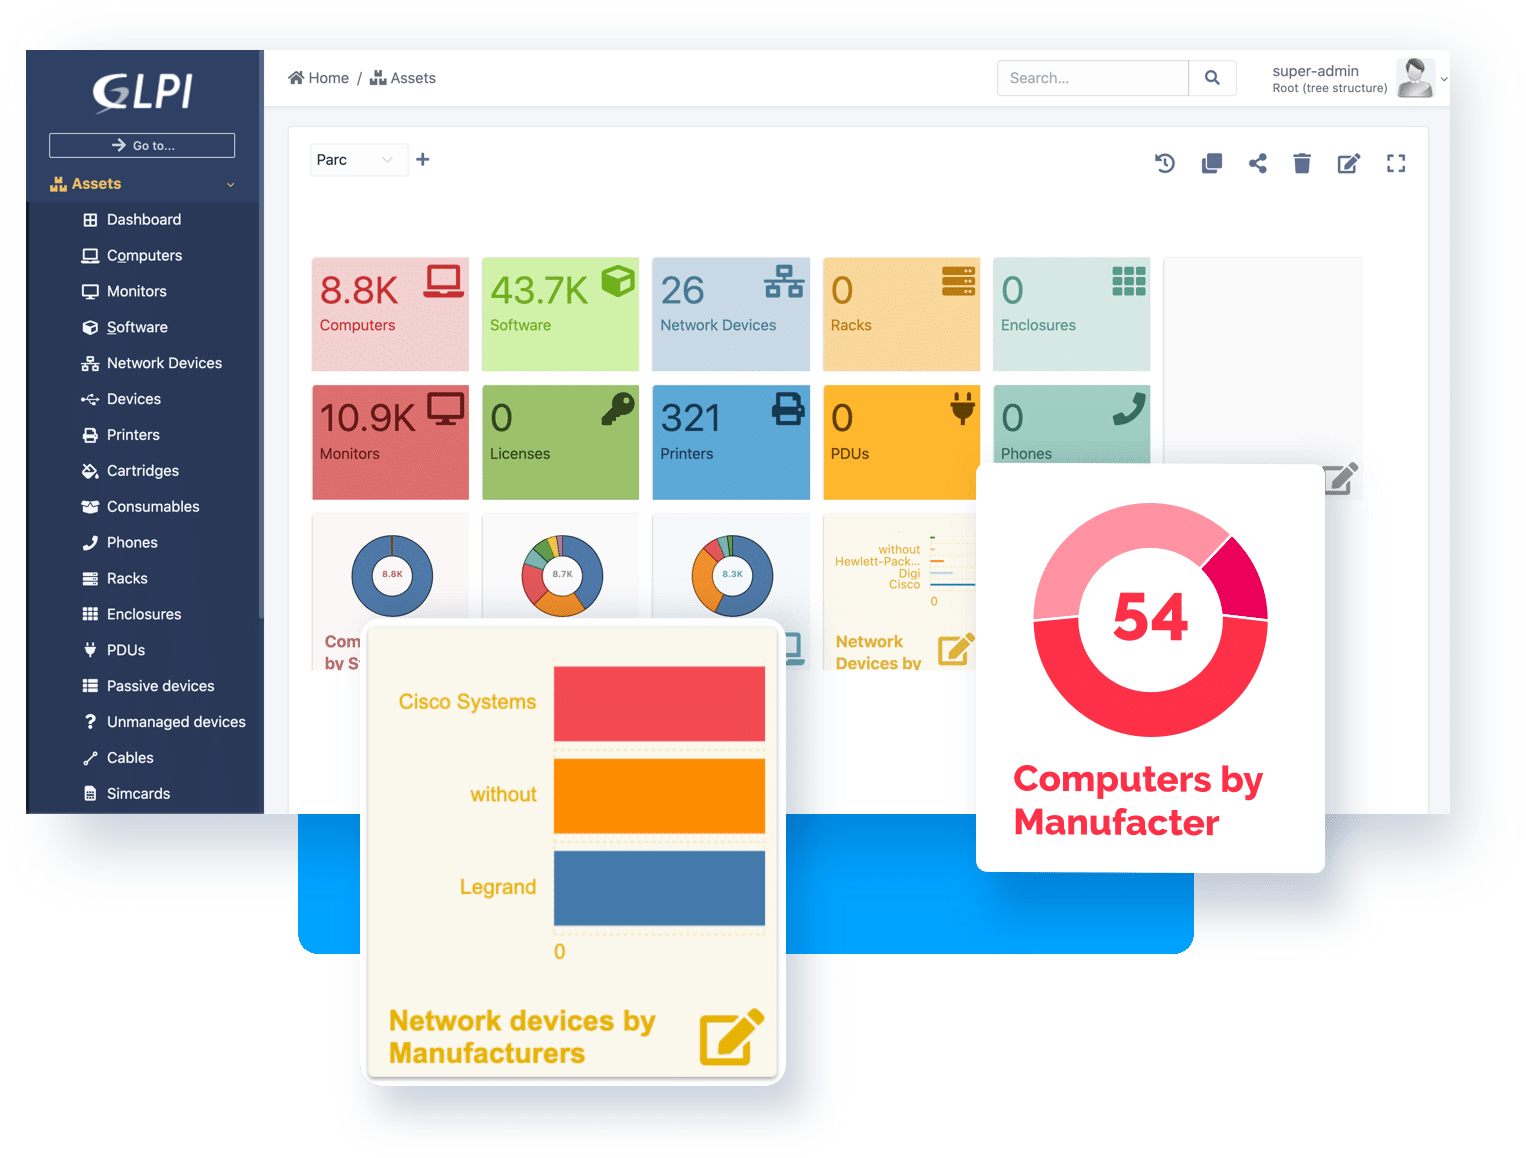
GLPI is an open source tool to manage Helpdesk and IT assets!
Helpdesk
GLPI contains a support service desk to manage incidents/requests with forms and SLAs.
1. Create a webspace directory for GLPI 10 in Synology DSM 7
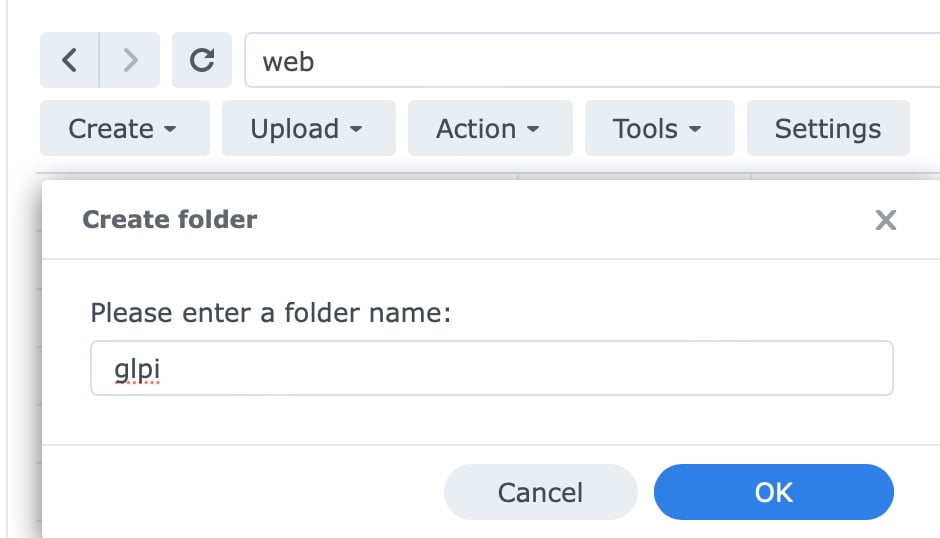
1.1 Create web folder for GLPI
Create a folder for GLPI in your your web directory ’shared folder‘ (e.g. /volume1/web/glpi)
1.2 Download GLPI 10
Download the latest version of the GLPI 10 installation package from https://glpi-project.org/downloads/


1.3 Upload GLPI into new folder
Upload the GLPI 10 installation package to your Synology and extract them in your newly created glpi folder
2. Create a virtaul host for GLPI 10 in Synology DSM 7
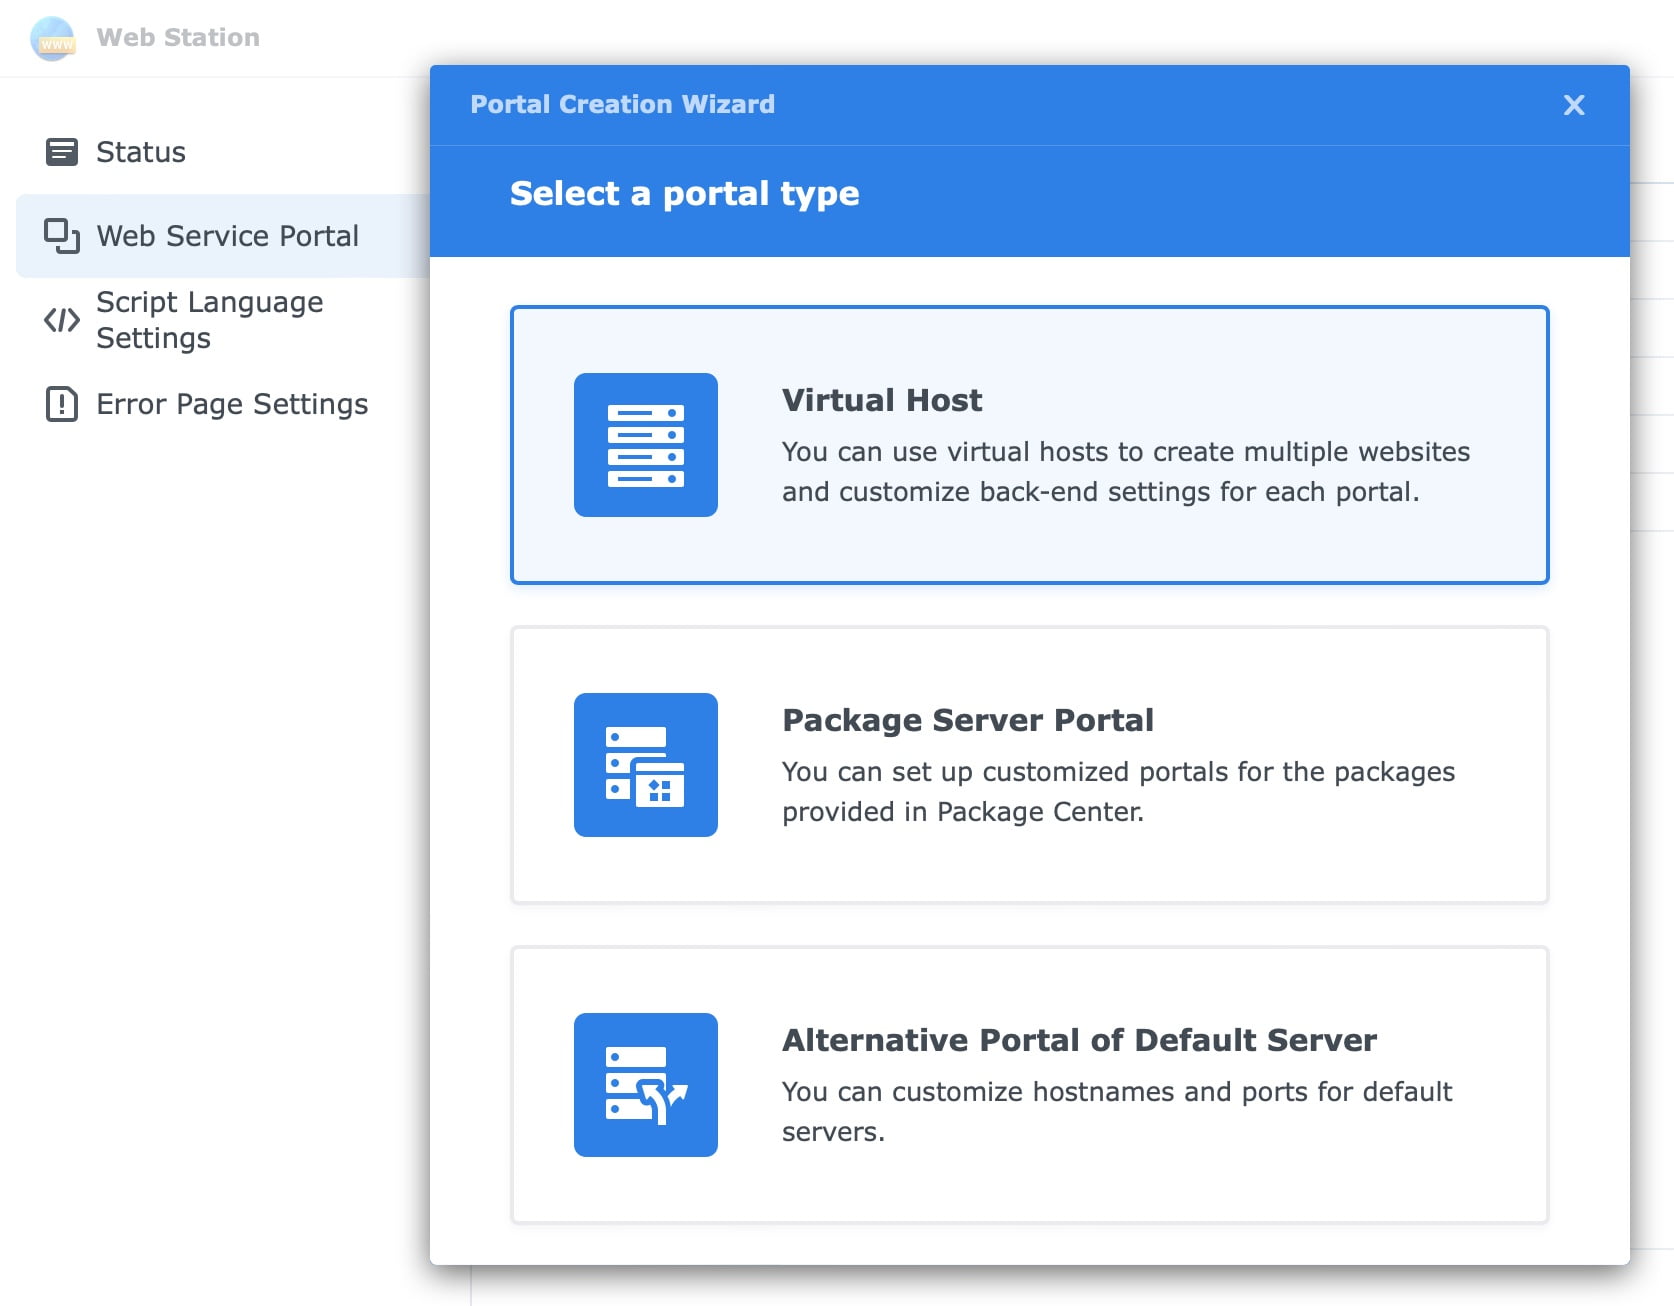
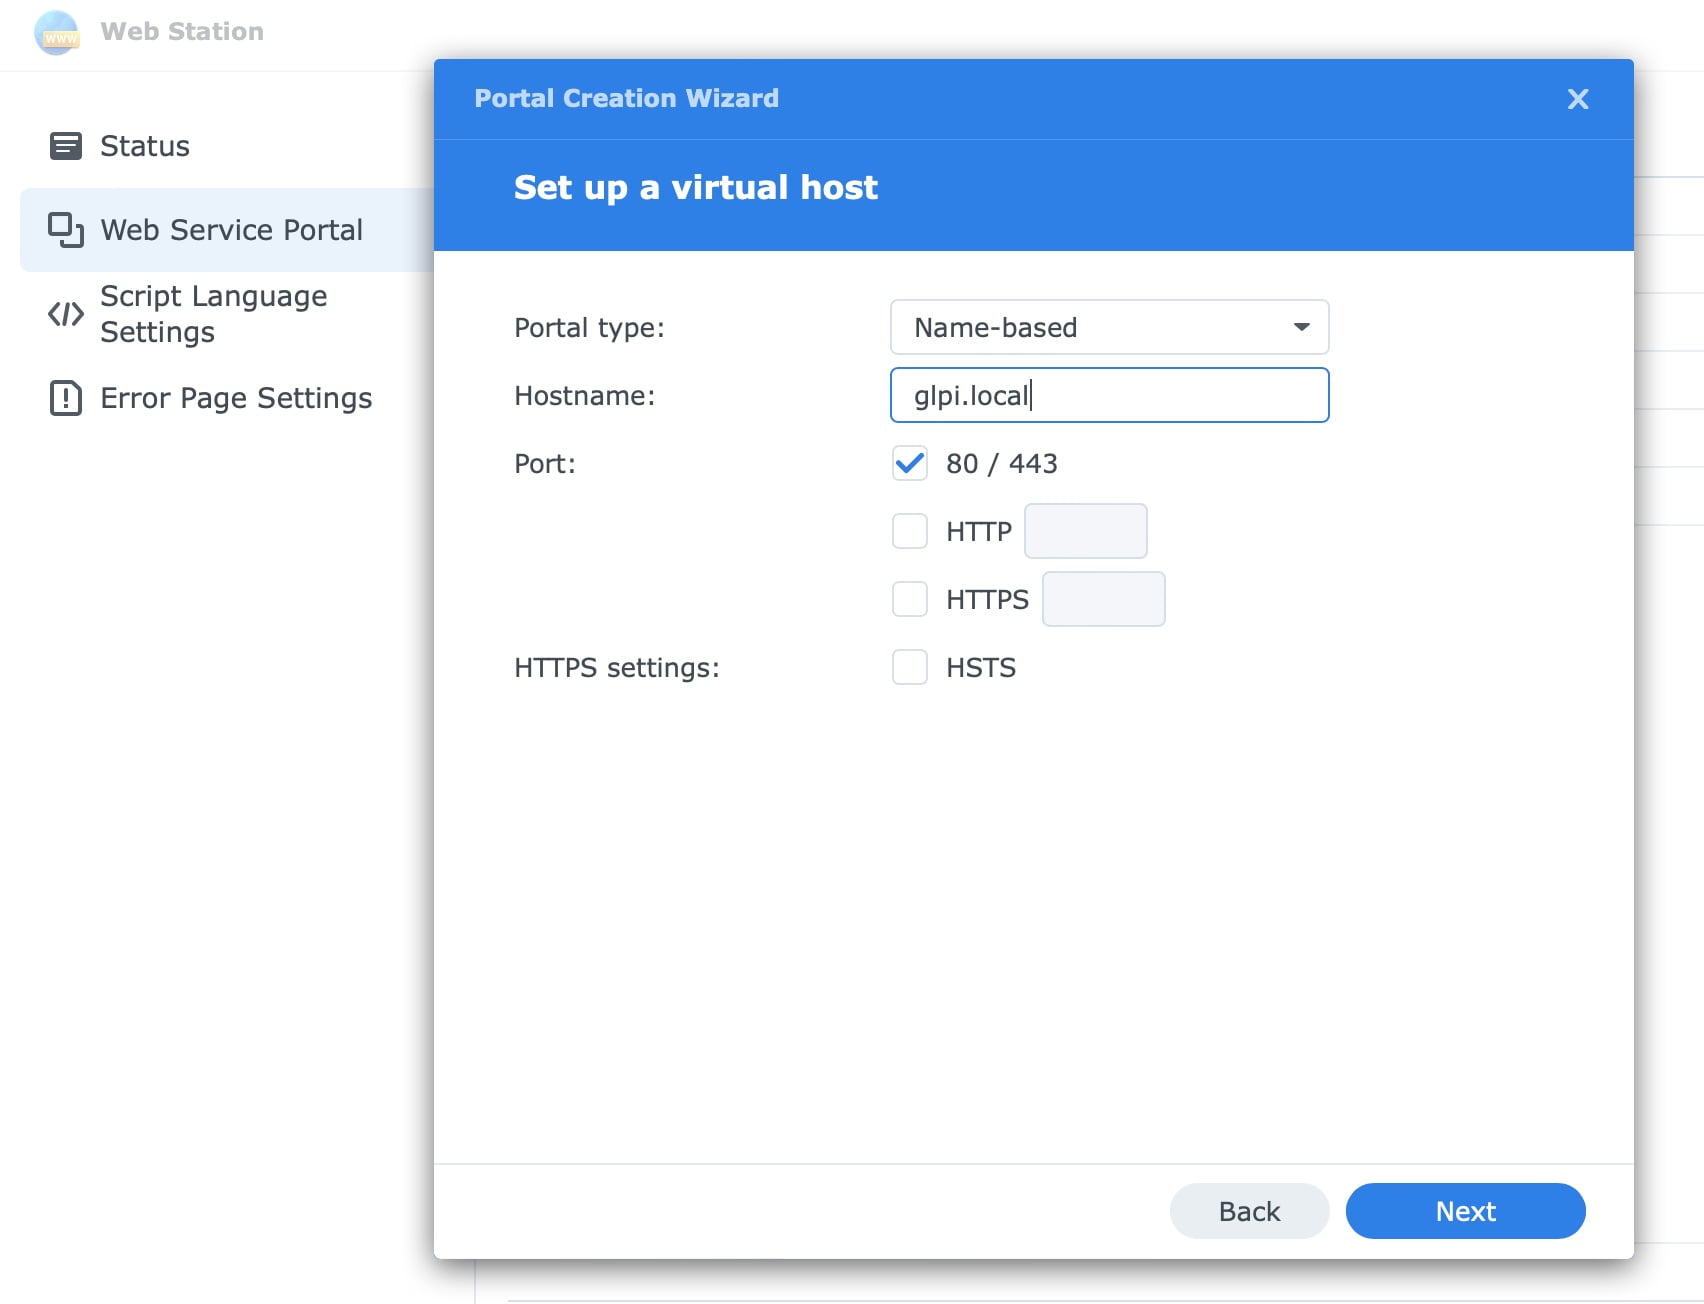
2.1 Create a new virtual host for your GLPI in DSM Web Station
Create a new virtual host for your GLPI 10 in Web Station of your Synology DSM 7

2.3 Assign web folder to virtual host
Assign your newly created folder (there your extracted the GLPI 10 installation package) to the document root of the new virtual host for GLPI on DSM 7 and start with the default PHP profile.
3. Create a new PHP profile for GLPI 10 in Synology DSM 7
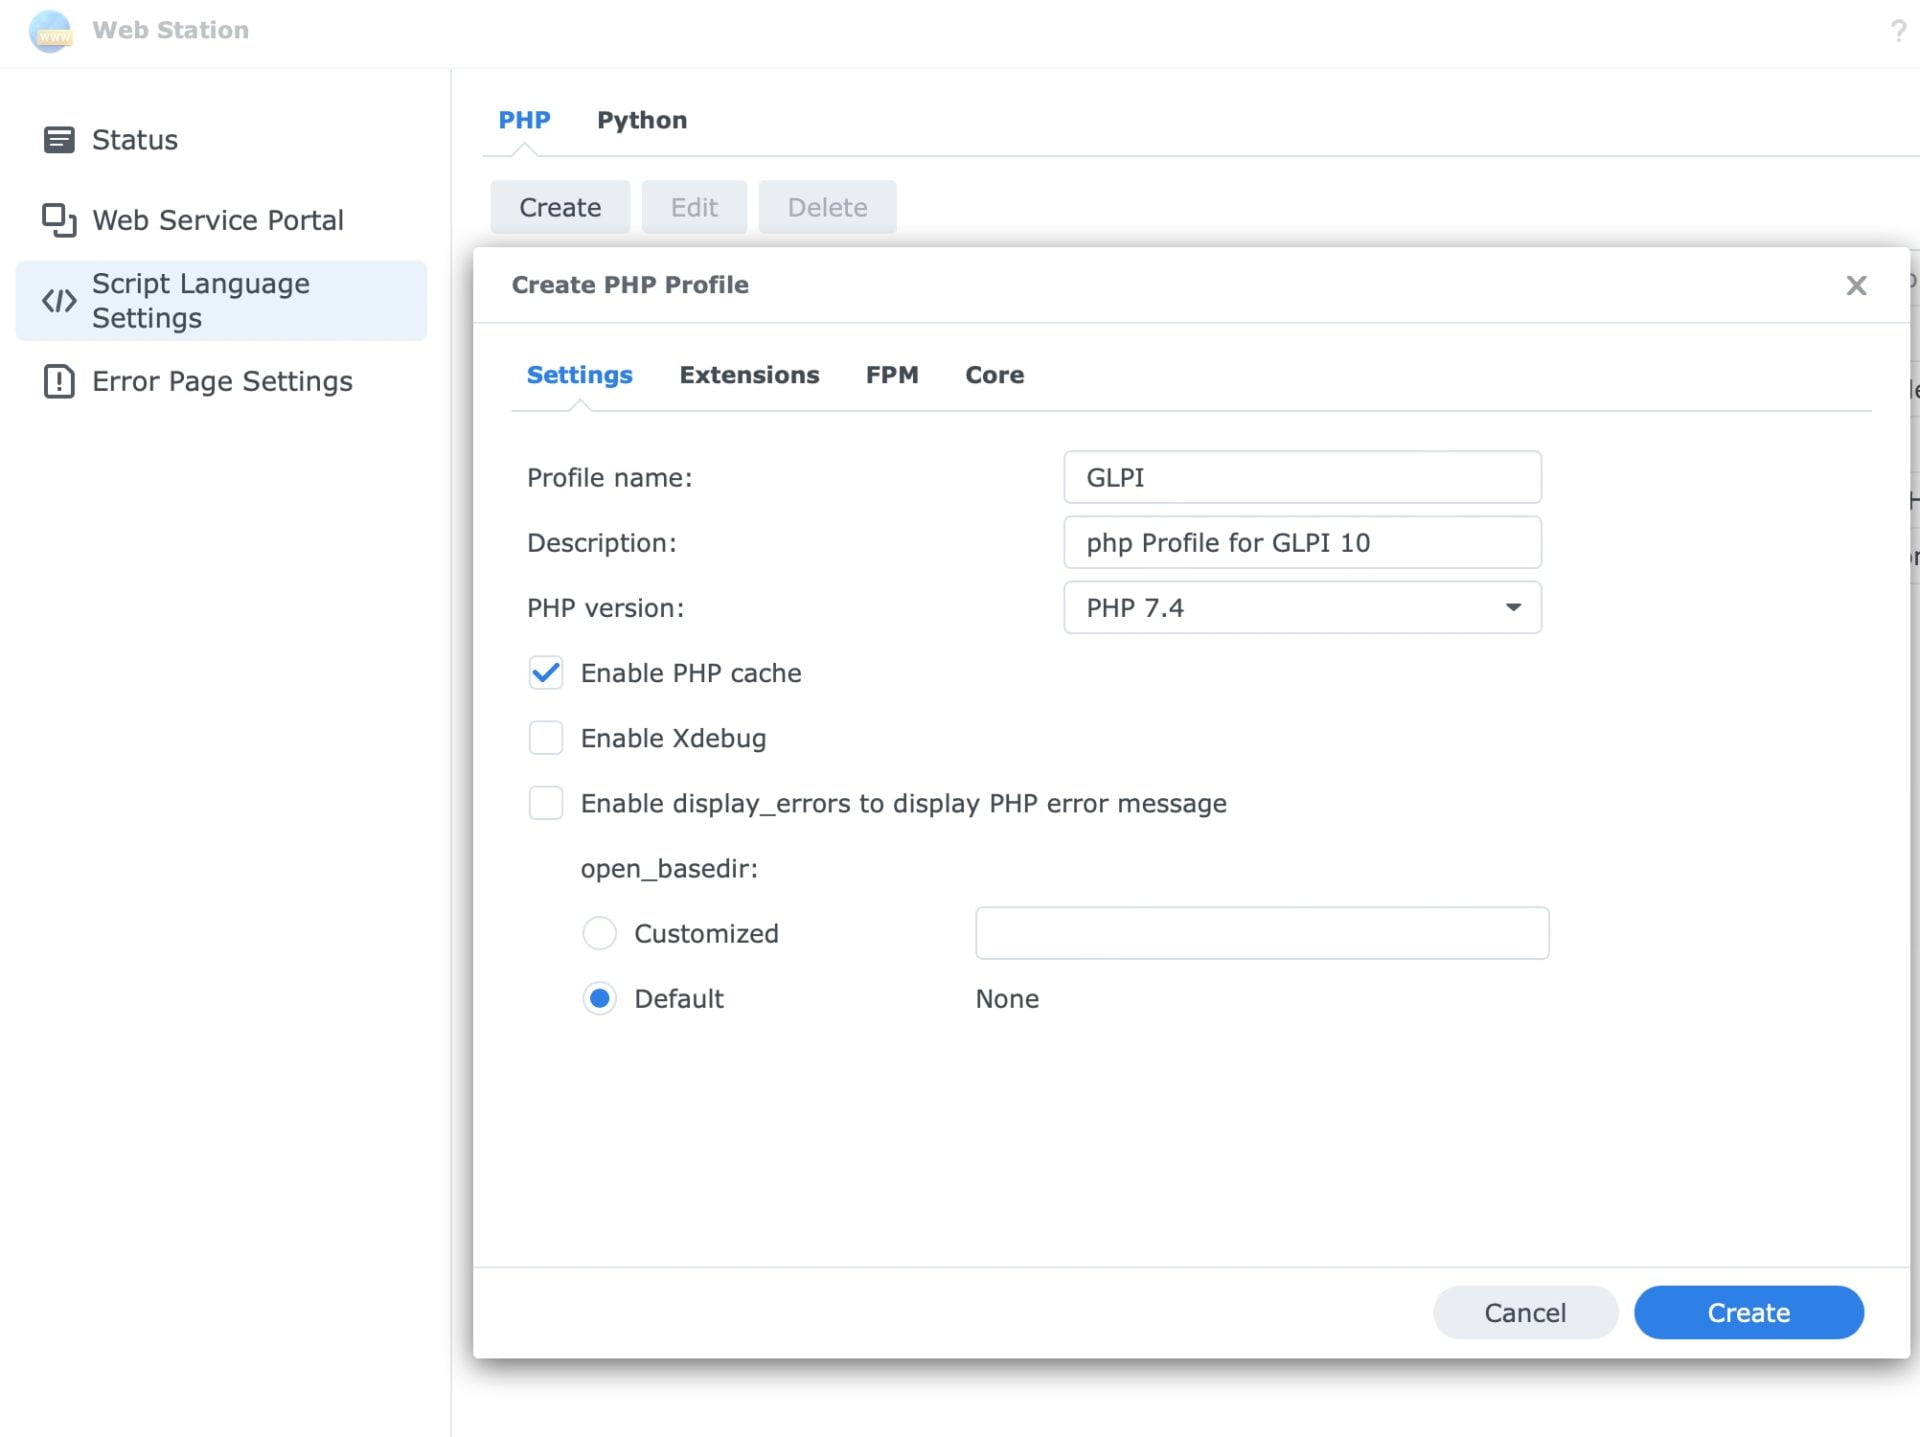
3.1 Create a new PHP Profile for GLPI in DSM Web Station
Again in Synology DSM 7 Web Station go to Script Language Settings > PHP and create a new PHP Profile for GLPI. Give it a name (e.g. GLPI), a description and chose the correct PHP version (>= PHP 7.4)
3.3 Change the new PHP profile for GLPI 10
Change you new GLPI PHP profile and add all required (and recommended) extensions from the GLPI 10 installation wizard.
3.4 Assign the new PHP profile
Open again the newly created virtual host for GLPI 10 and change the PHP in backend to the newly created PHP profile.
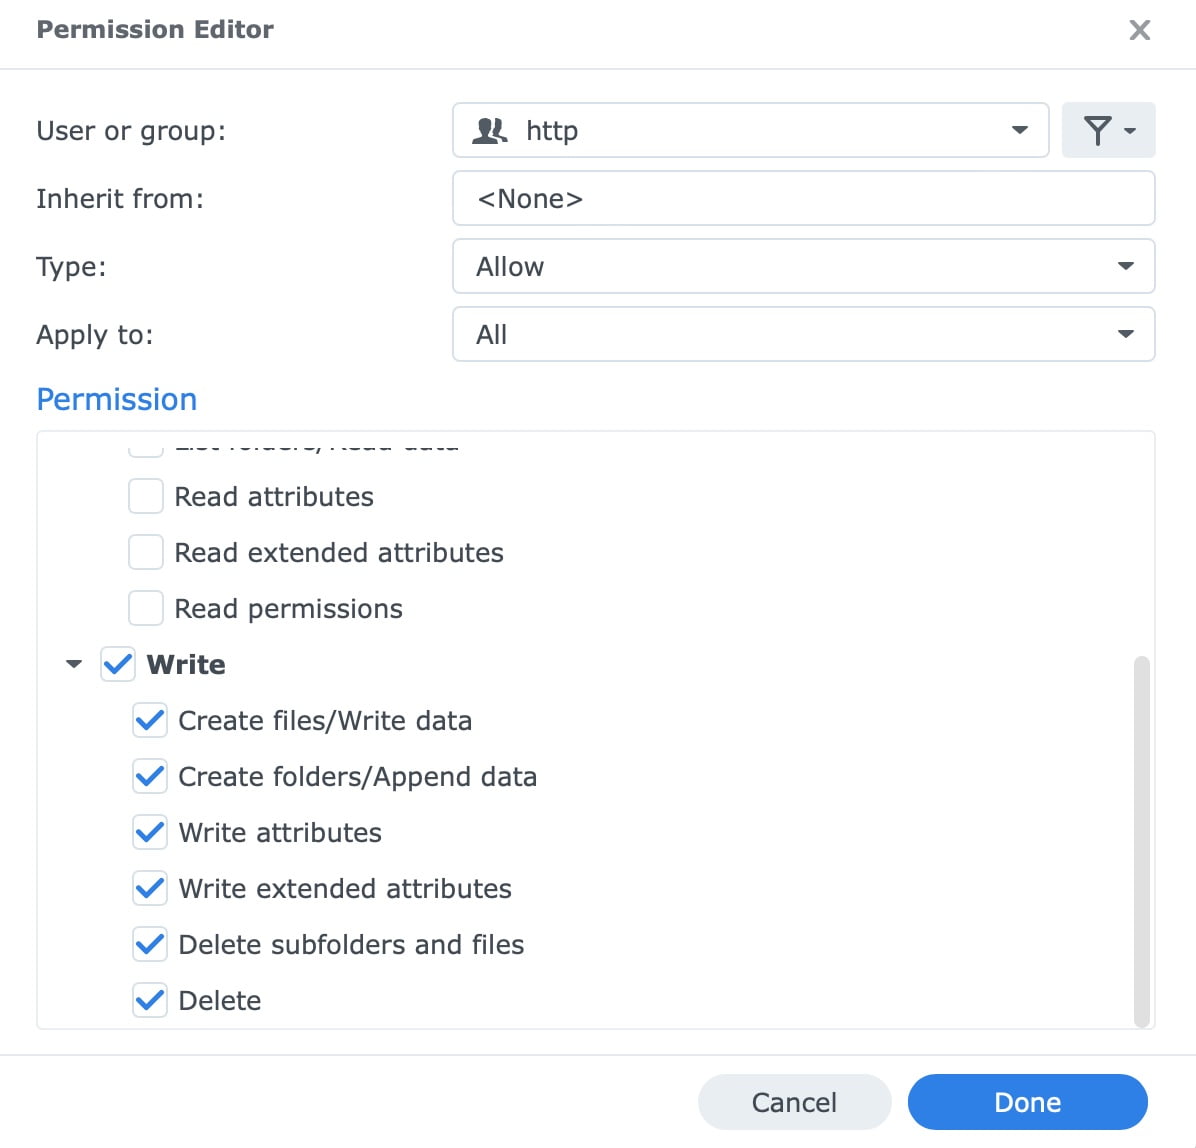
3.5 Add authorization to the required folders
As described in the GLPI 10 installation wizard check list some folders require additional write authorization. Open File Station in Synology DSM 7 and navigate to the folder. Open Properties of the folder and go to permission. Select Create to pen the Permission Editor and enter the group ‚http‘ and check ‚Write‘ option. Don’t forget to check the option ‚Apply to this folder, sub-folders and files‘. Redo this for all required folders (config, files, marketplace).
3.6 Recheck system requirements in GLPI installation wizard
Back to the GLPI 10 installation wizard all requirements should now be fulfilled. Continue to the next step for the database connection.
4. Create database for GLPI 10
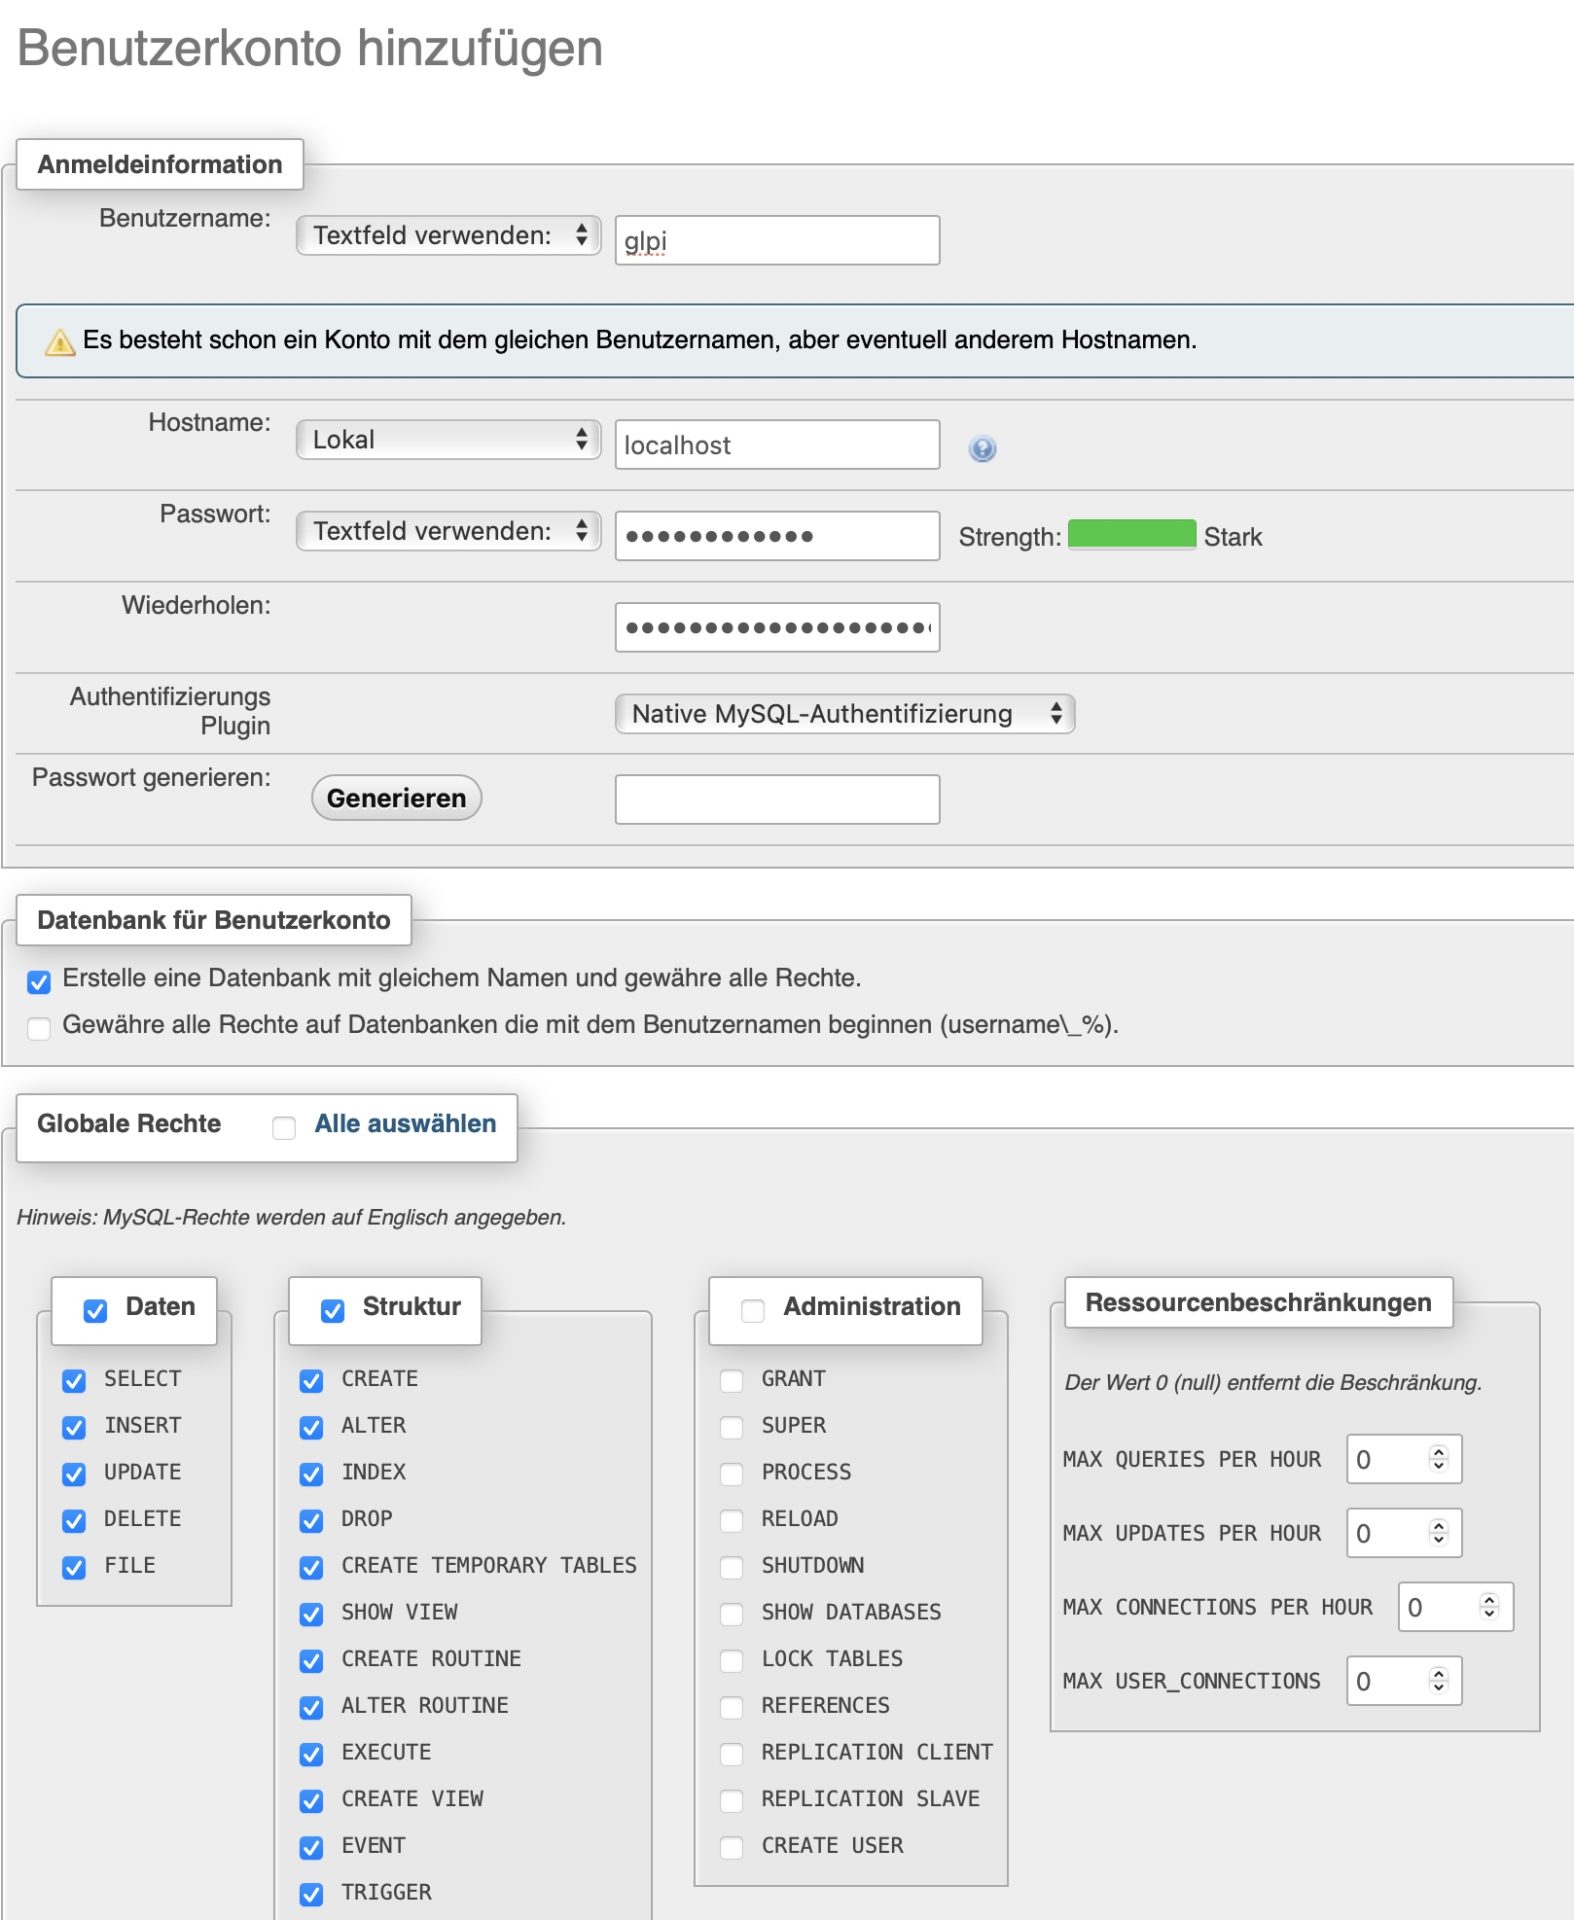
4.1 Open create a new database and DB User for GLPI 10
In Synology DSM 7 open phpMyAdmin and login with your root account of mySQL or MariaDB. Create a new user and check the option to generate a database with the same name (e.g. glpi). Set the connection to localhost, a new password for the database connection and check all permissions for the database and hit ok.
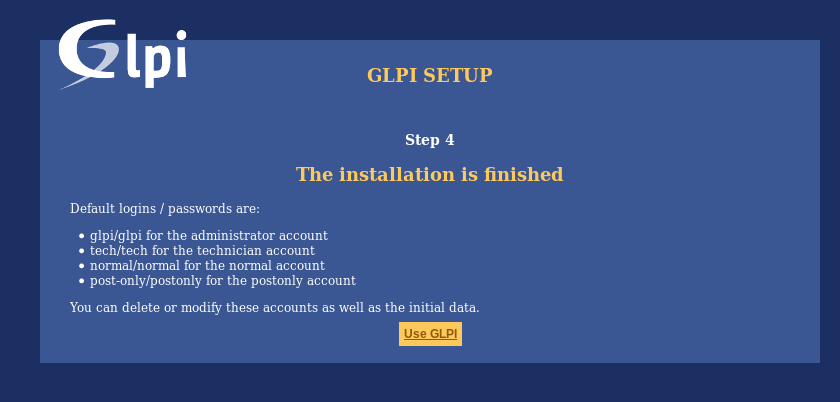
4.3 Finalize GLPI 10 installation
Concratulations
You have successfully installed GLPI 10 on your Synology with DSM 7





A user has reported an issue with the PHP extensions. Although he had assigned the required extension to the PHP profile the wizard check fails. In that case please ensure that the PHP profile, created in step 3.1, is assigned to the virtual host of GLPI (step 3.4).
Edit the virtual host of GLPI > tab Backend: Under Script Language Settings PHP need to be checked and your edited PHP profile chosen in the dropdown menu.
Hello,
thank you for your tutorial. It’s very helpful. Unfortunately I keep encountering a problem on „Step3 – Initialization of the database“ – it gets stuck on it. Tried starting the installation from scratch many times to no avail.
I’ve found a post with similar problem (https://github.com/glpi-project/glpi/issues/11343), it seams there, the problem was with lack of Time Zone Tables. There the solution was to import those time zone tables and run the installer from command line. I don’t really know how to do both of those things on a Synology.
Of course i’m runnng the newest versions of GLPI, PHP, MariaDB, etc.
Hello Greg,
Thank you very much feedback. Regarding your issue, I don’t think the time zone tables (support) is the issue here. GLPI can be used without time zone functionality and I have installed it several times without time zone support. Therefore I suspect where is another issue with the database. As you can see in the screenshot of step 4 „create database for GLPI“, it’s necessary to have a DB user with all permissions for the new database (data & structure). Maybe you try to create a new database user and database in MariaDB and try again. Feel free to let me know if it worked or if you have further questions.